Dry Stone Walls
Learn the Basics
What is a dry stone wall?
A dry stone wall is a type of wall constructed from stones without any mortar to bind them together. Built using carefully selected and skillfully placed stones, these walls are known for their durability and strength. They are a common sight in the UK countryside, particularly in areas like the Yorkshire Dales and the Cotswolds. Dry stone walls have been used for centuries to mark boundaries, enclose fields and manage livestock, reflecting both the practical needs and the rich heritage of rural Britain.
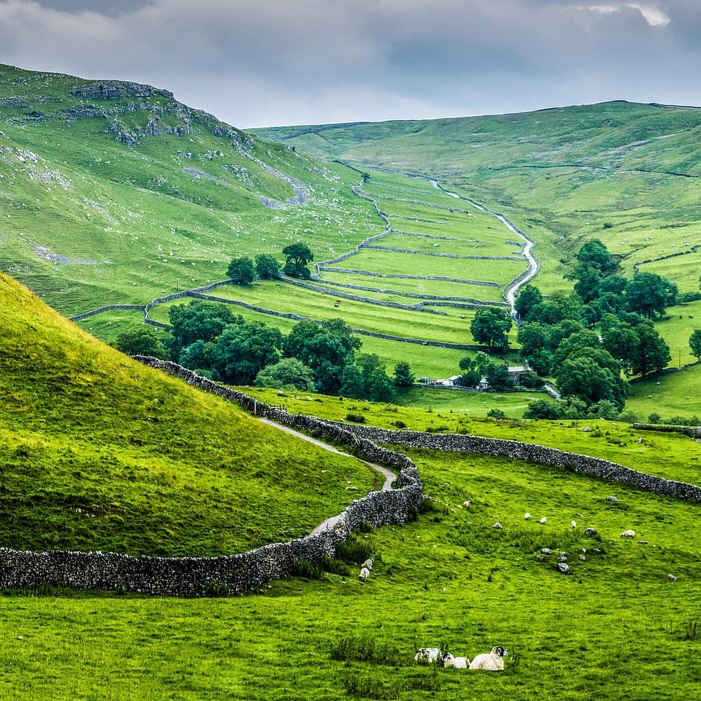
Interesting fact: The total length of all the dry stone walls in the UK would wrap around the Earth's equator over 5 times!
Why do we need dry stone walls?
Dry stone walls are an essential feature of the UK countryside, serving various practical and ecological purposes. They are used to mark boundaries between properties and fields, providing a clear and durable division of land. These walls also play a crucial role in managing livestock, keeping animals enclosed and protected.

Beyond their practical uses, dry stone walls contribute significantly to biodiversity. The gaps and crevices in the walls provide habitats for a variety of flora and fauna, supporting ecosystems and promoting wildlife conservation. Furthermore, dry stone walls help with soil retention and water drainage, preventing erosion and maintaining the integrity of the landscape.
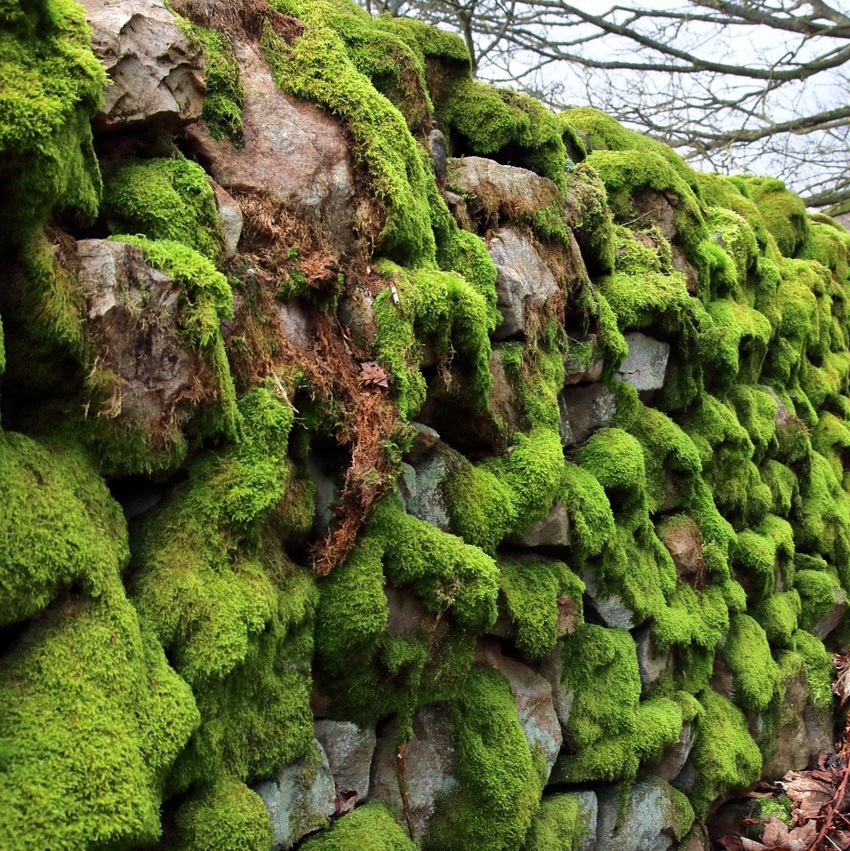
Overall, dry stone walls are not only functional structures but also an integral part of the UK’s natural and cultural heritage, reflecting centuries of agricultural tradition and landscape management.
Building basics
In both working environments and competitions, the traditional approach to walling involves dismantling a few metres of deteriorated wall and reconstructing it using the available stone. With meticulous craftsmanship, a well-built wall can endure for centuries, showcasing the legacy of this age-old practice.
Before we get started, here's some of the lingo you might need to refer to:
Batter - The slight lean or slope intentionally built into the wall's structure, ensuring stability by widening the base compared to the top.
Copes - The top or coping stones of a wall, providing a finished edge and protecting the wall's core from weathering.
Course - A continuous horizontal layer of similarly sized stones within a wall. Each course is built upon the one below it, contributing to the overall structure and stability.
Face - The visible side of both the wall and individual stones. Its quality affects the wall's appearance and structural integrity.
Fill - Small stones used to fill gaps between larger stones in the centre of the wall. Sometimes called packing or hearting, they provide structural support and stability to the wall.
Foundation - The lowest part of the wall, laid below ground level, providing stability and distributing the weight of the wall evenly.
Pinning - The process of securing stones in place with smaller, usually flat stones, to prevent movement and maintain stability.
Traced - Stones laid lengthwise along the face of the wall, reducing structural integrity.
Throughs - Large stones placed through the width of the wall, these tie the wall together.
When rebuilding a dry stone wall, attention to detail in each step ensures a structurally sound and an aesthetically pleasing result:
Stripping out
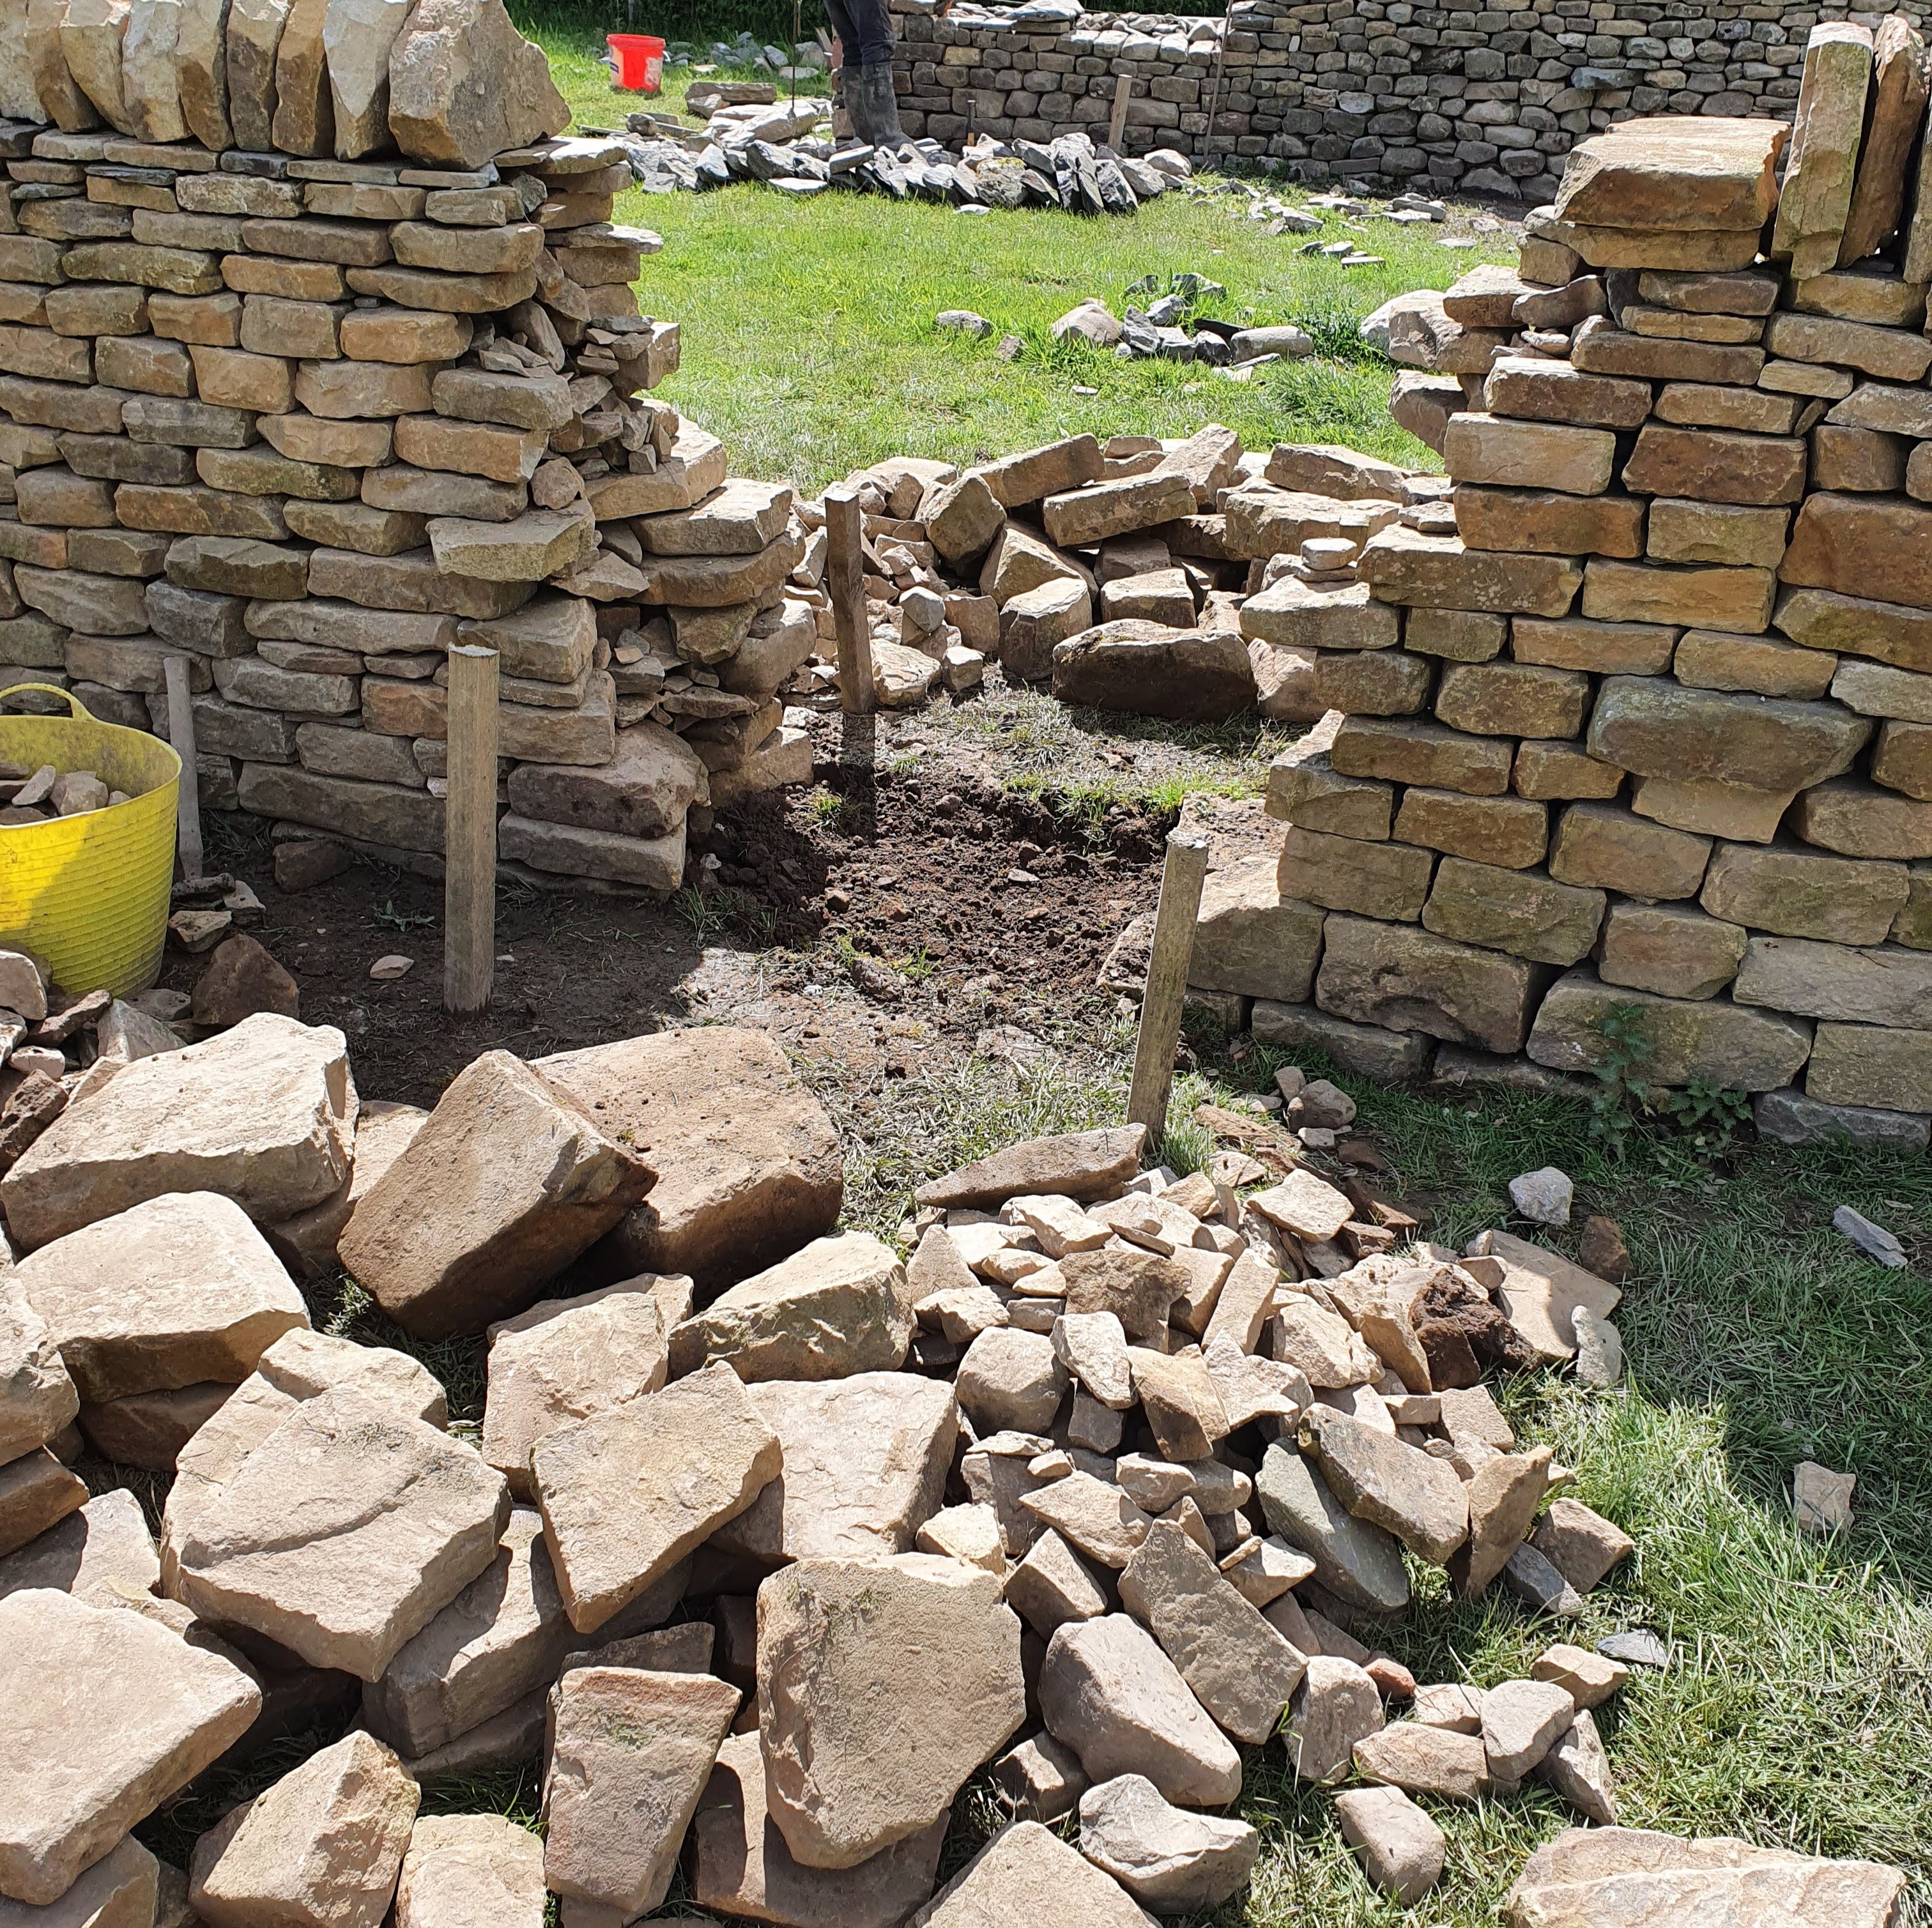
Carefully dismantle the existing wall, try to place each stone down with its face, facing towards the wall, this will help when building and selecting stones.
Set aside the largest and longest stones, known as throughs, you don't want to break these!
Large stones to be used as foundations should be positioned close to the wall to reduce the need for heavy lifting or prolonged movement.
Place top stones or copes out of the working area to avoid damage and to save them for the end.
Any small stones should be placed in a pile or bucket to be used as fill.
Foundations
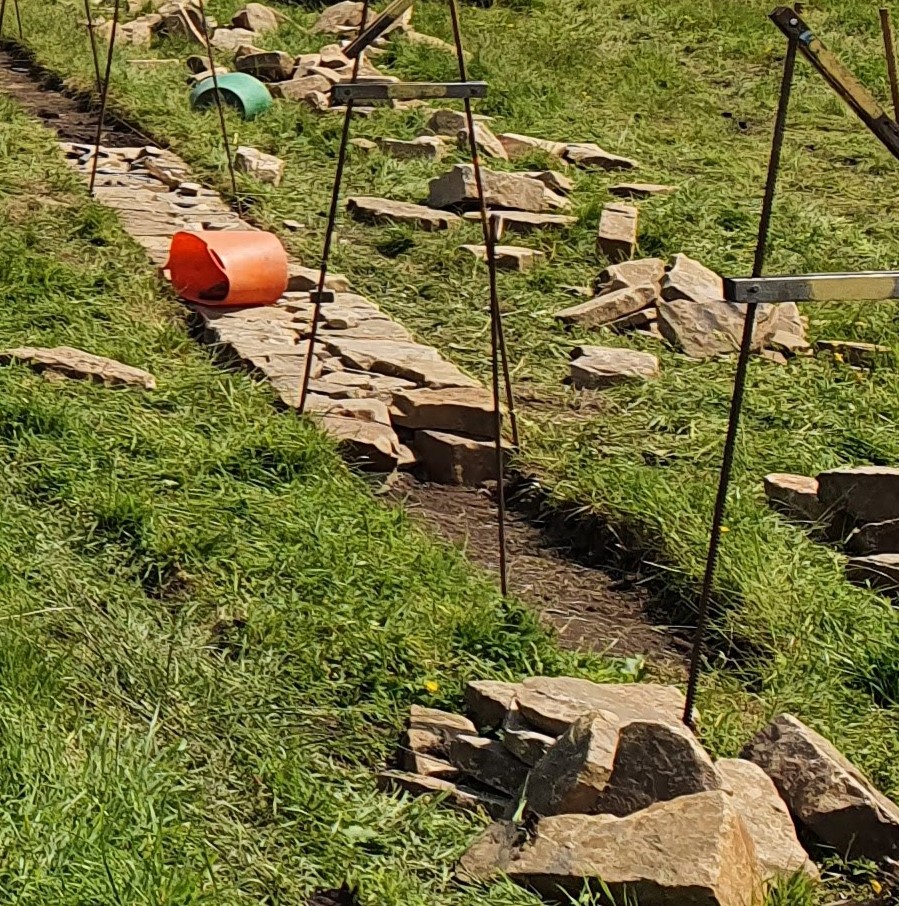
Begin by excavating the area where the foundation stones will be positioned. Ensure they are placed on solid ground.
Utilise the largest stones to establish the foundation of the wall. These should be arranged side by side, ensuring a level surface for the subsequent course
Position the stones 'length in' to the wall. Stones placed lengthwise along the face are referred to as traced.
In the centre of the foundation, use the largest fill stones, securely placing each one until level. Avoid pinning any foundation stones as this will significantly affect the stability of the wall. Instead, level the stones by digging the ground underneath.
First lift
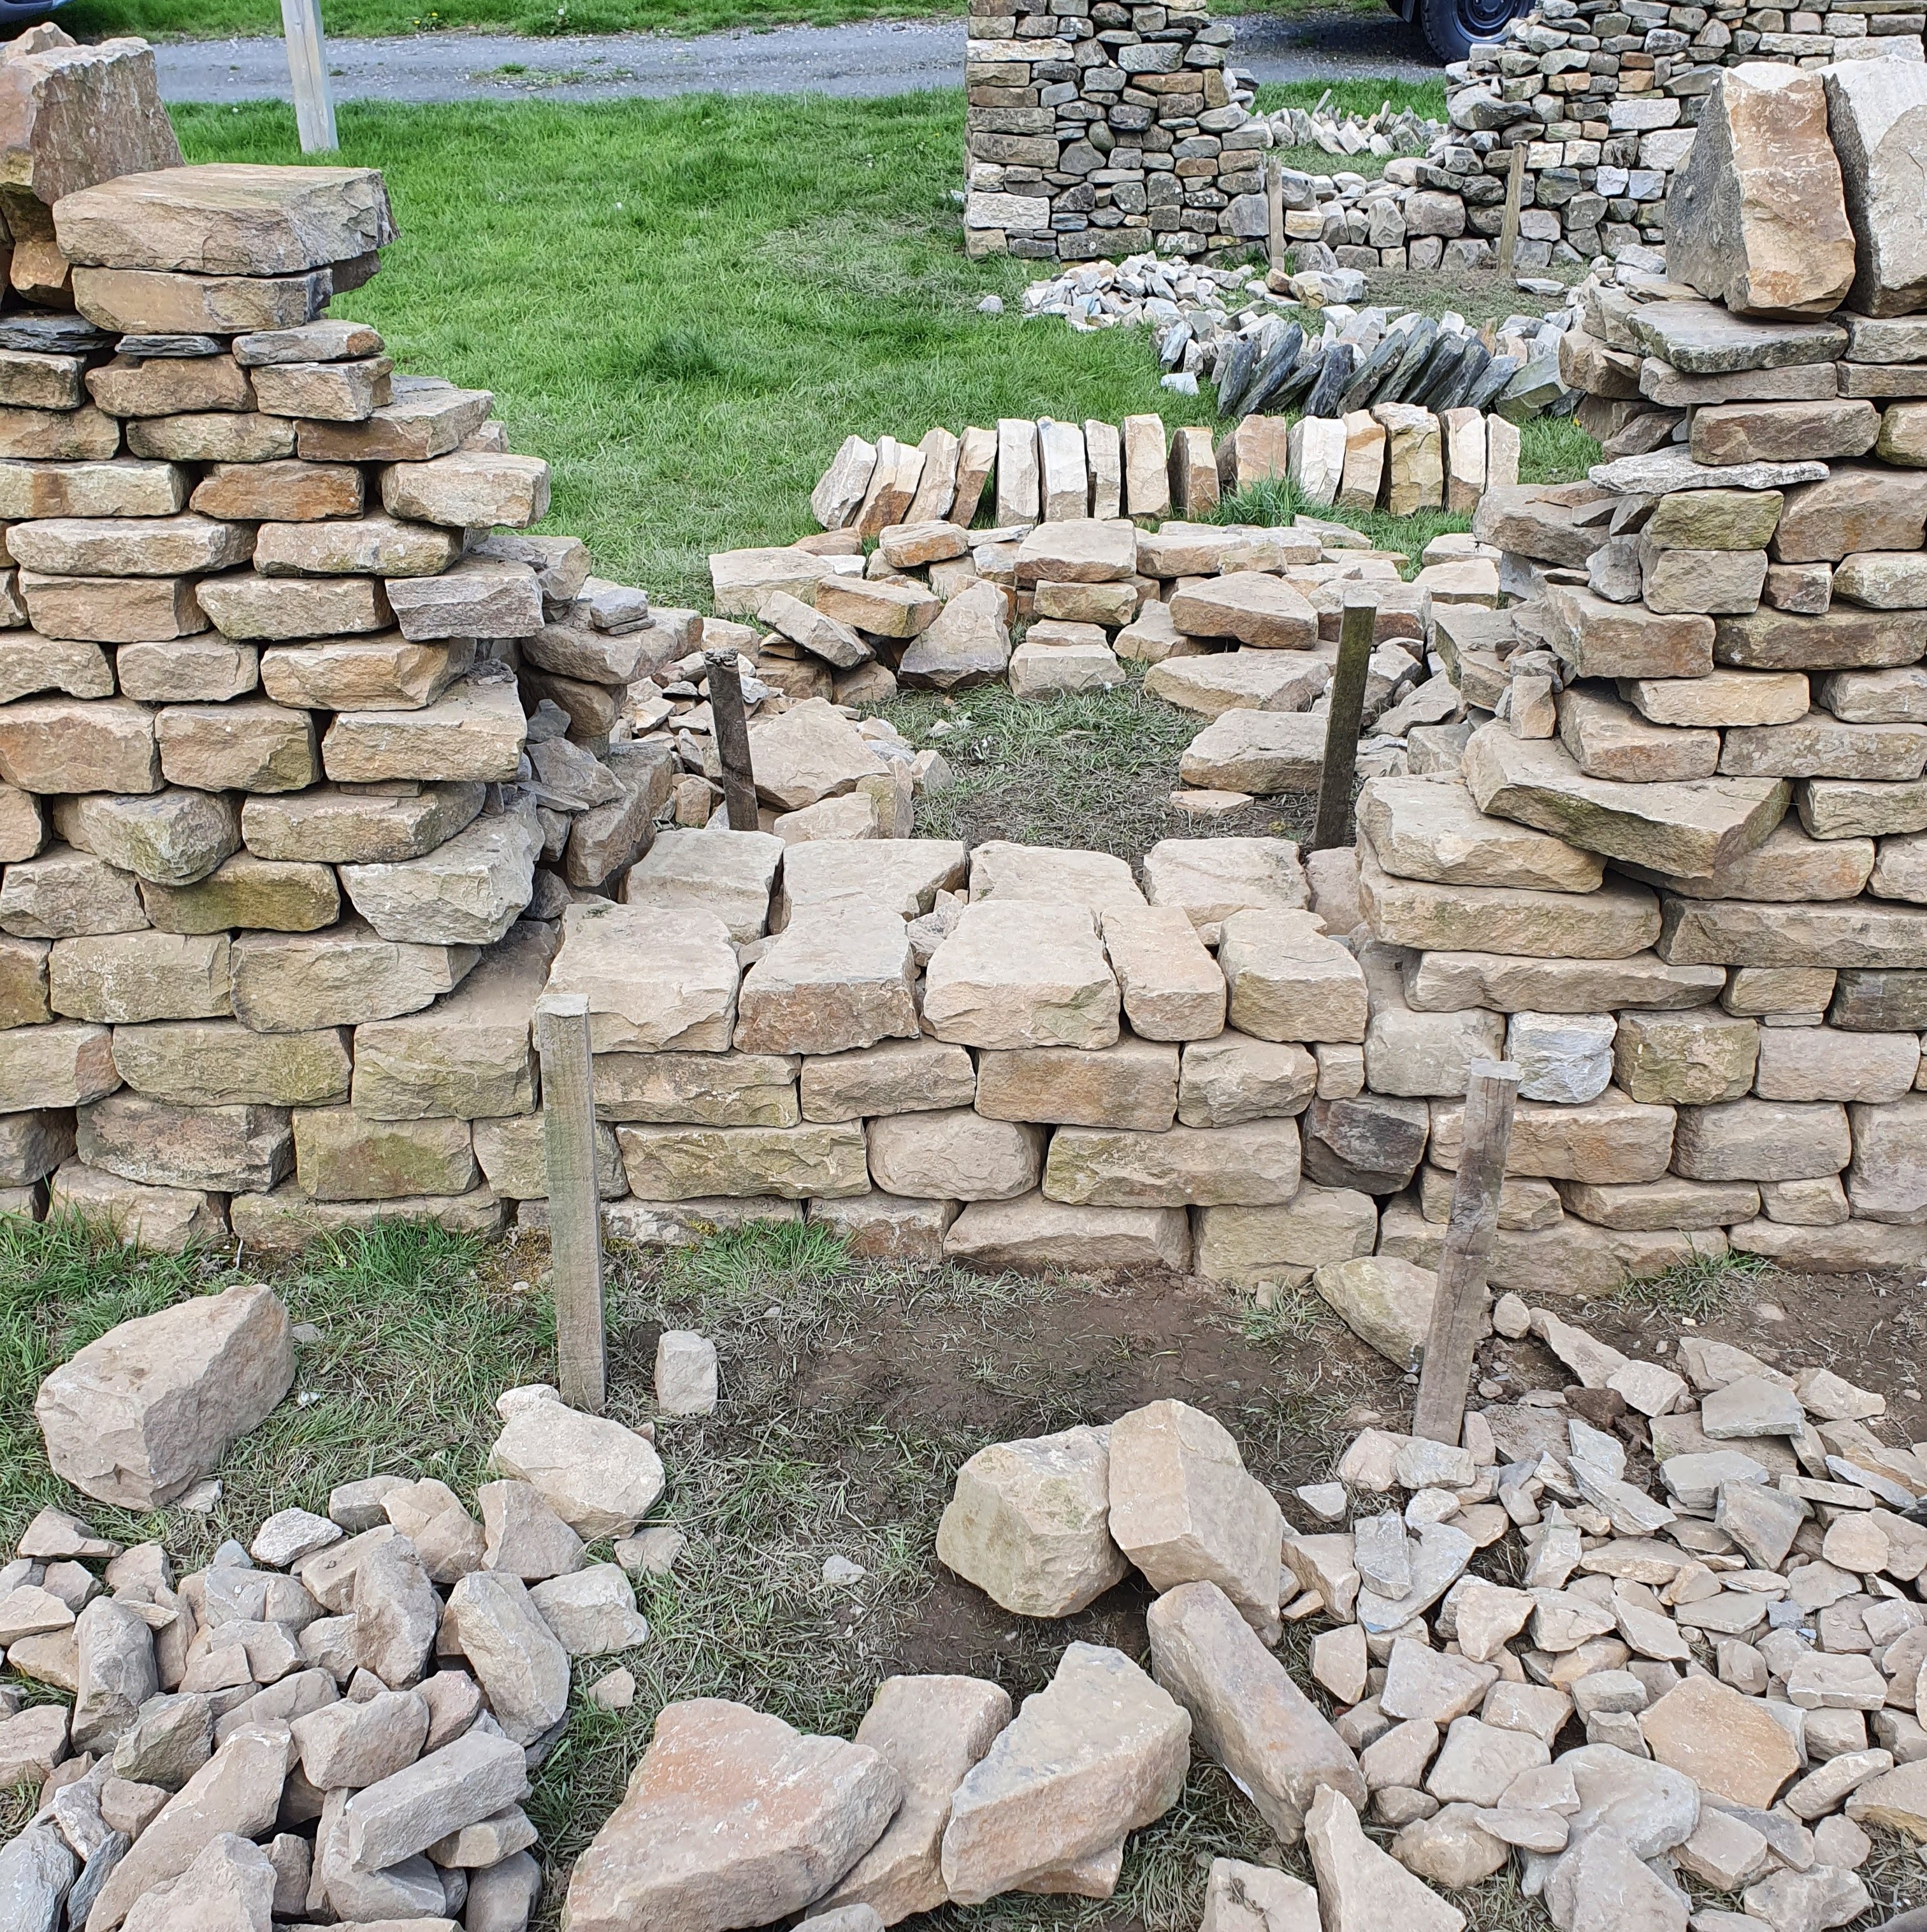
The first lift consists of the courses of stones between the foundation and the through stones, typically at the centre wall height.
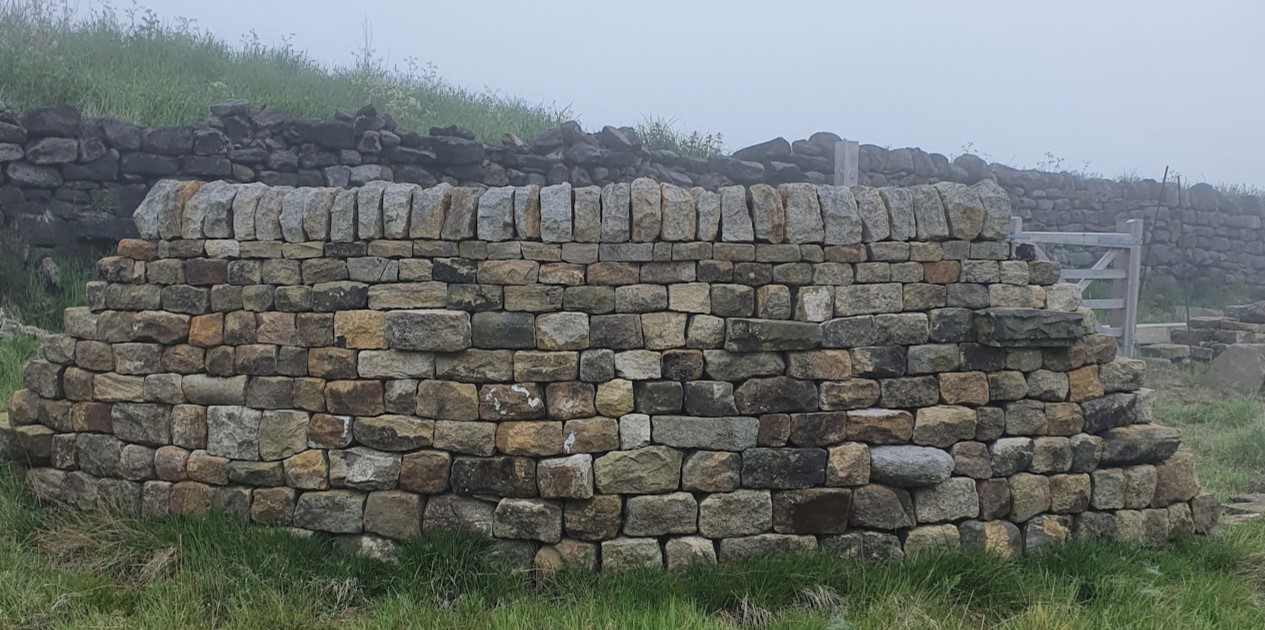
The stability of a wall relies on its base being wider than its top, we call this batter. This slight lean, observable on each side, is crucial for maintaining structural integrity.
Ensure proper construction technique by placing each stone across the gaps on the course below. Ideally, each stone should span across two stones and reach the centre of each.
Maintain a consistent level for each course using walling lines. If using lines is not feasible, periodically step back from the wall every few stones to visually inspect your work for levelness.
Secure any unstable stones at the rear with fill material, these are called pins. Avoid pinning the wall from the face side, as this can cause displacement as the wall settles over time.
Again the centre of the wall after each course should be packed with fill. Do not use loose gravel or earth unless that is the local style, in most walls these will allow movement which can cause a collapse.
Throughs
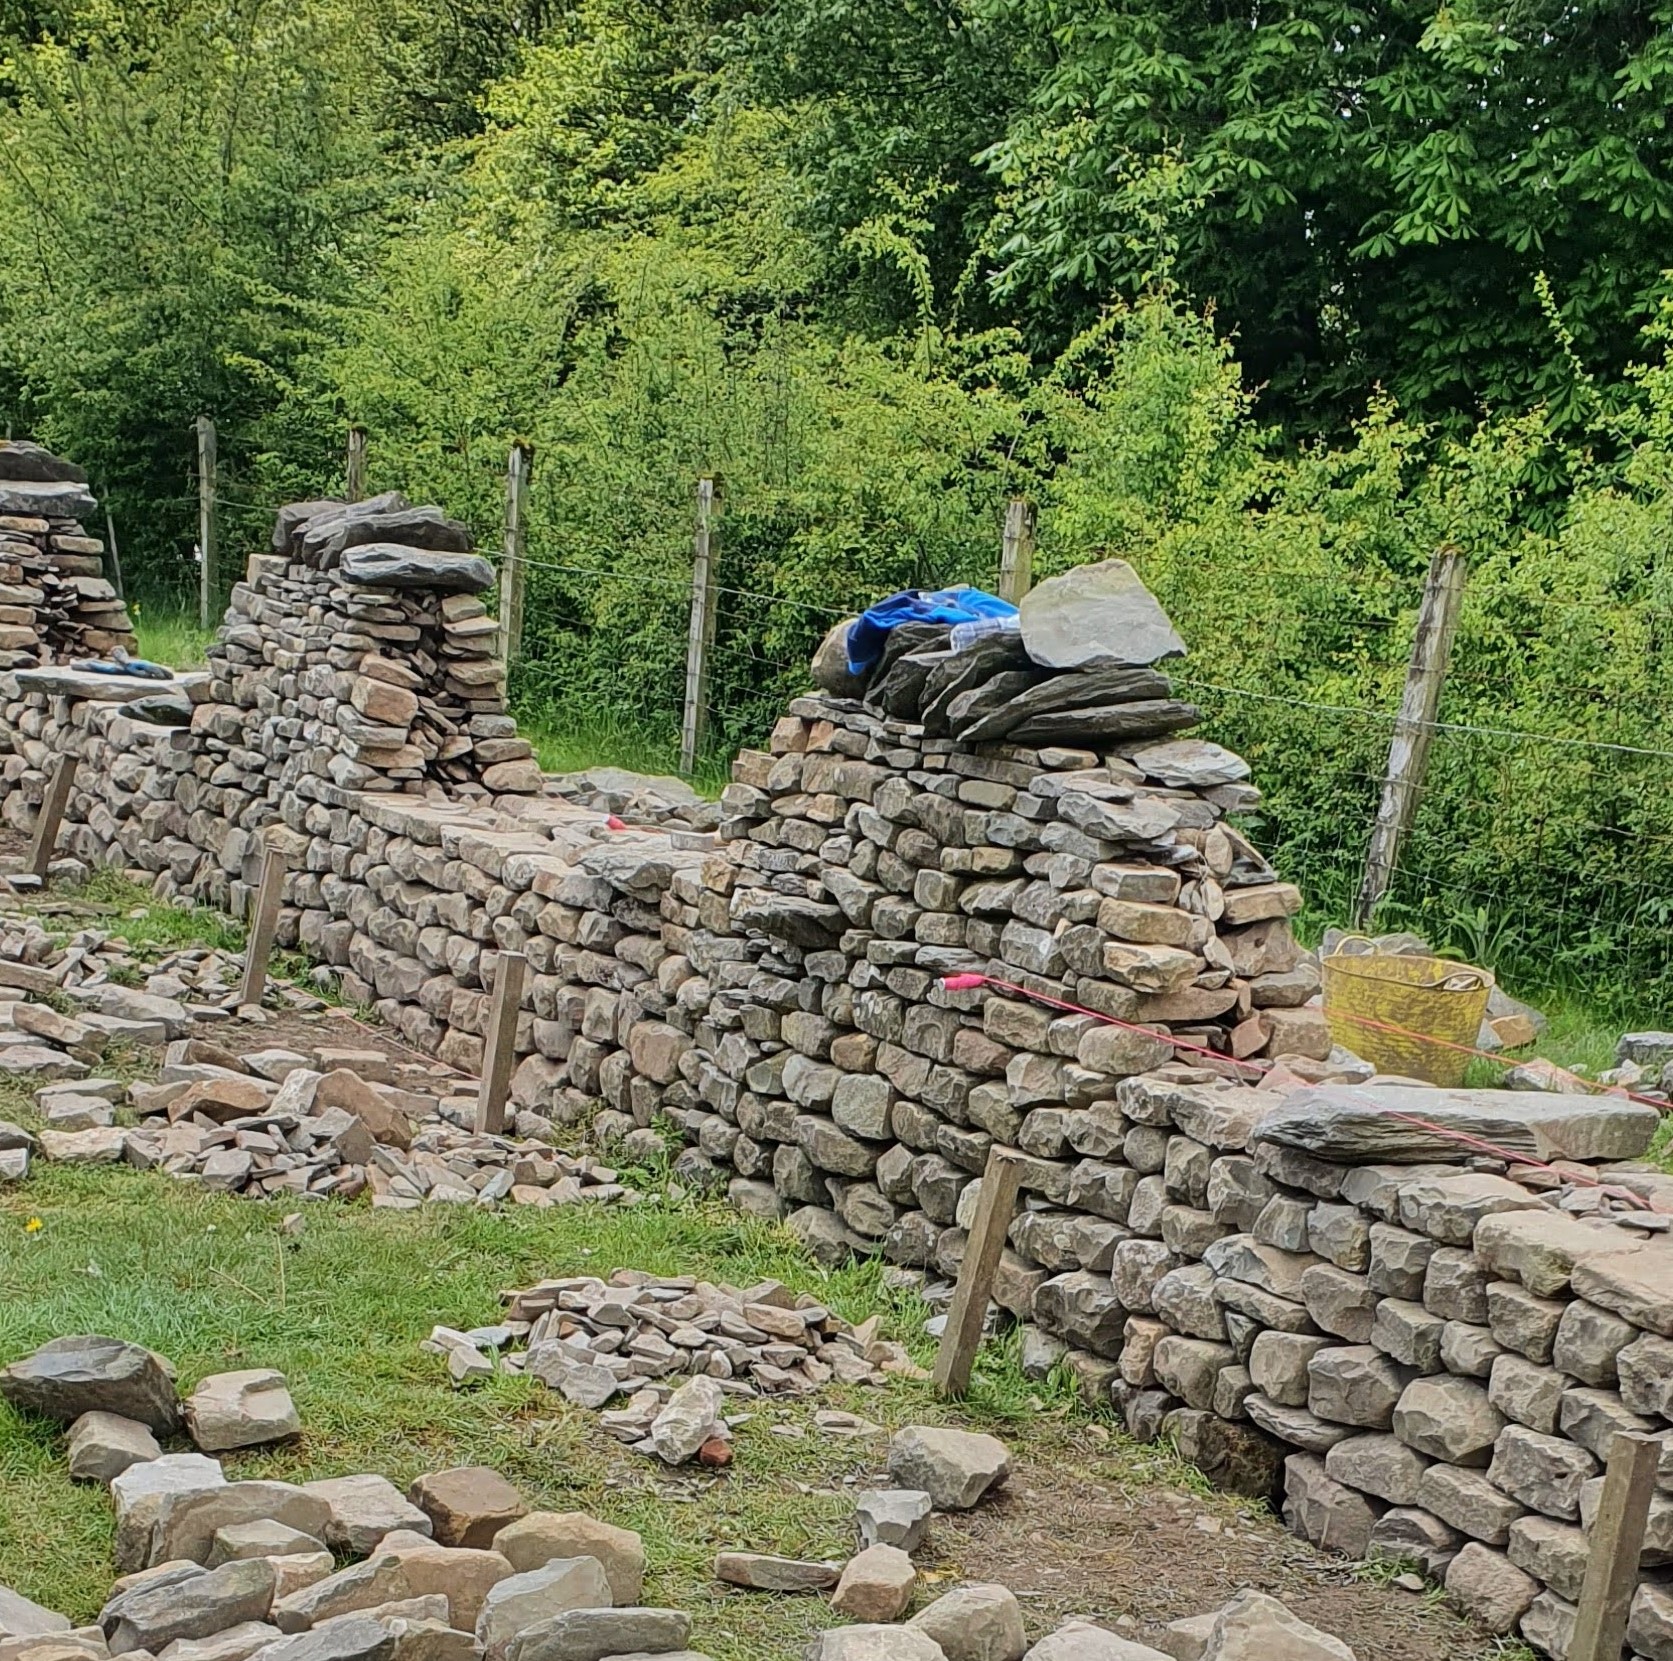
Through stones play a critical role in the stability and cohesion of your wall. If you have only one through stone, it should be positioned at the centre height of the wall to provide balanced support. When dealing with multiple through stones, it's essential to distribute them evenly across the wall, ensuring consistent reinforcement.
Throughs need to be placed as flat and stable as possible. Given their typically heavier weight, exercise additional caution and enlist assistance when required.
Observing the style of nearby walls can provide valuable insight into through stone placement. Some walls may feature flush through stones, while others might have them protruding slightly on one or both sides. Aim to match this style to maintain visual consistency and structural integrity.
Through stones serve to unify both sides of the wall, acting as key elements in its overall strength. By placing them thoughtfully and securely, you enhance the wall's durability and resilience.
Second lift
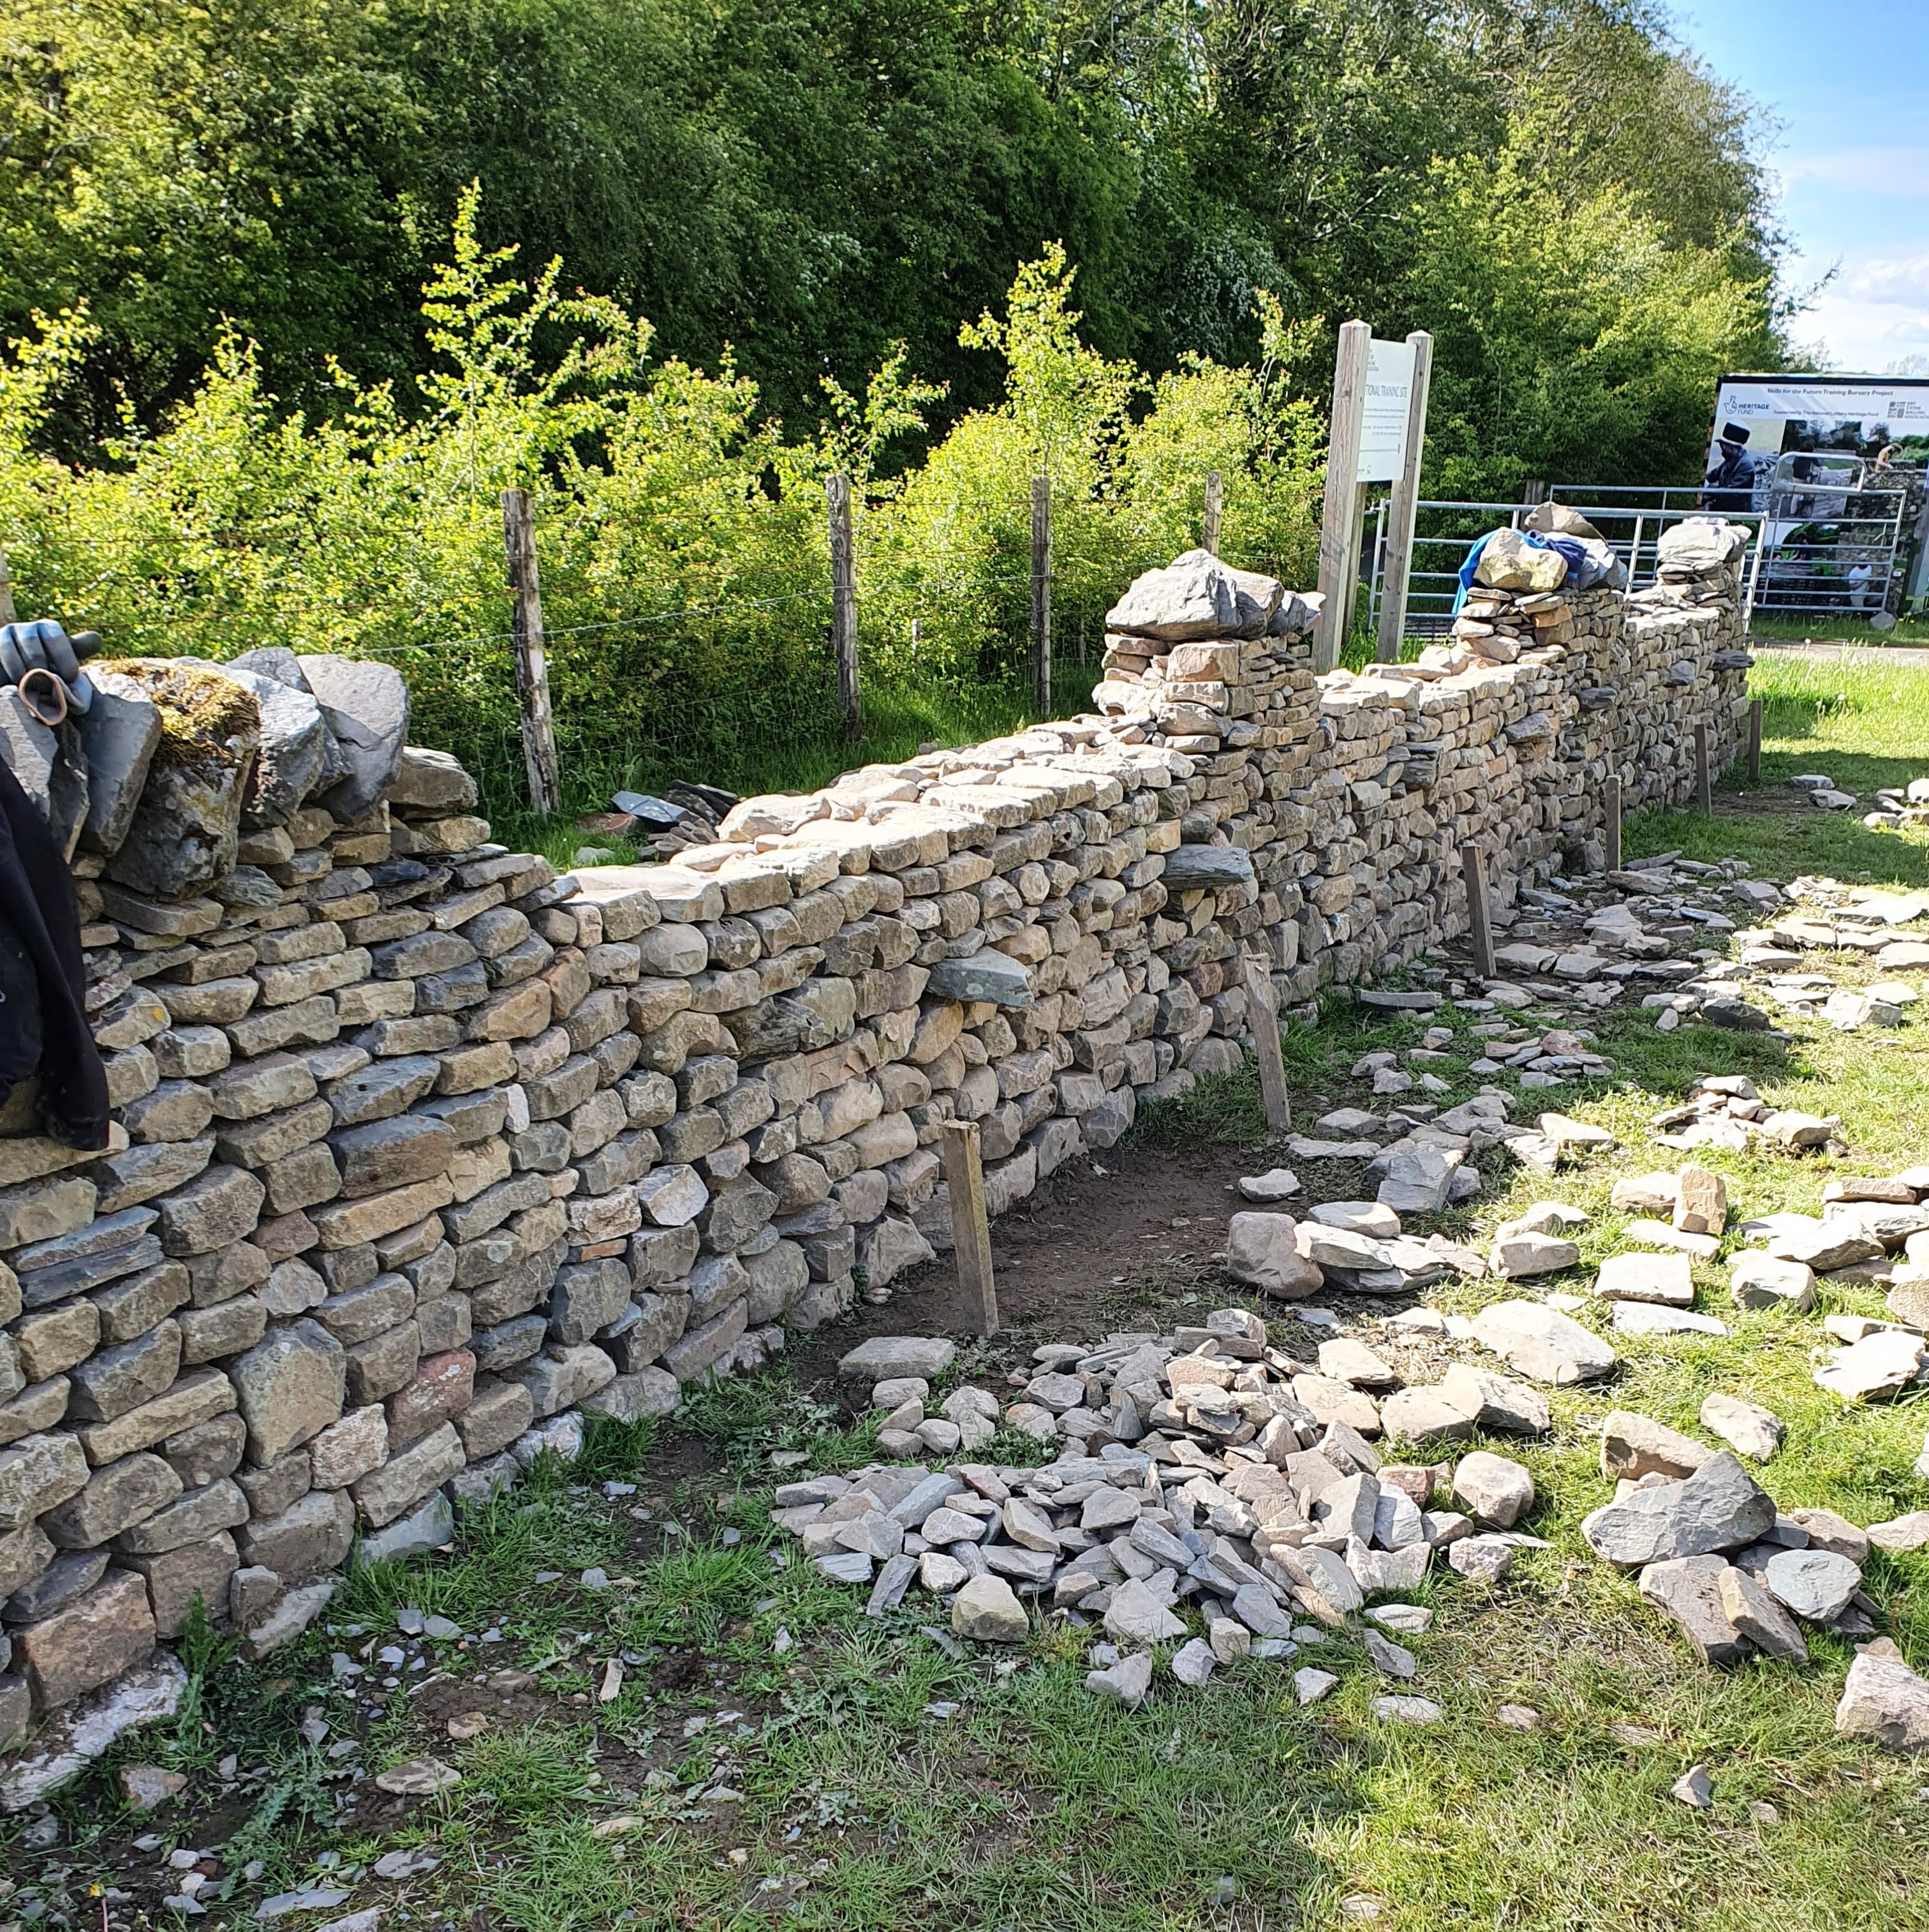
Moving on to the second lift, continue building your wall using remaining stones while adhering to the principles established in the first lift.
A key point to remember is to save some of the flattest stones for the top, using these before the copes are placed will make life much easier.
Keep a close eye on the batter to ensure the wall maintains the proper width as it rises. Near the top, ensure the width is suitable for the copes. This attention to detail is crucial for both structural integrity and aesthetic appeal.
Copes
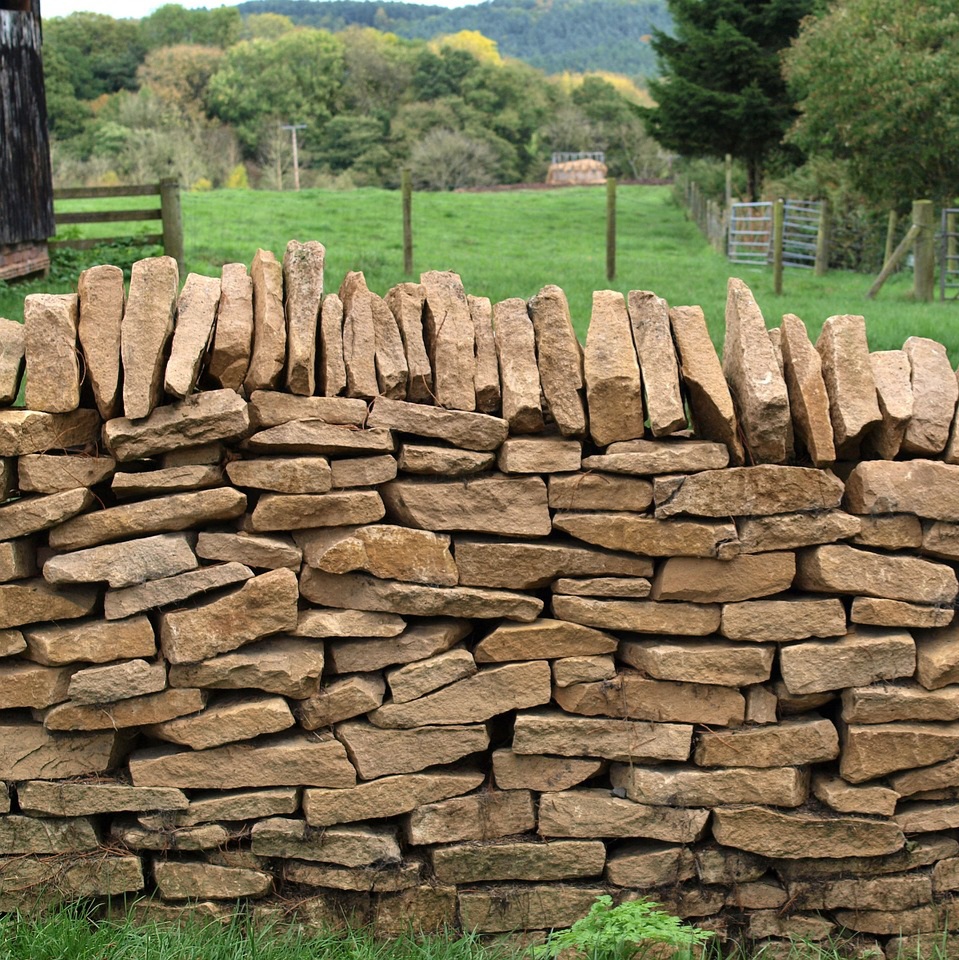
Complete the wall with top/coping stones, use the same style as the surrounding walls. A line can be used above the copes to keep level, the trick to this is to have each stone almost touch the line, usually at its highest centre point. Do not allow any stone to touch the line or they will not stay level. A single pin can be used per cope if required. Each stone should sit securley on the top stones of the wall so no stone is left lose.
By diligently adhering to these steps, builders can craft dry stone walls that are not only durable and visually striking but also serve as a testament to their impeccable craftsmanship and unwavering attention to detail.
Tools and Equipment
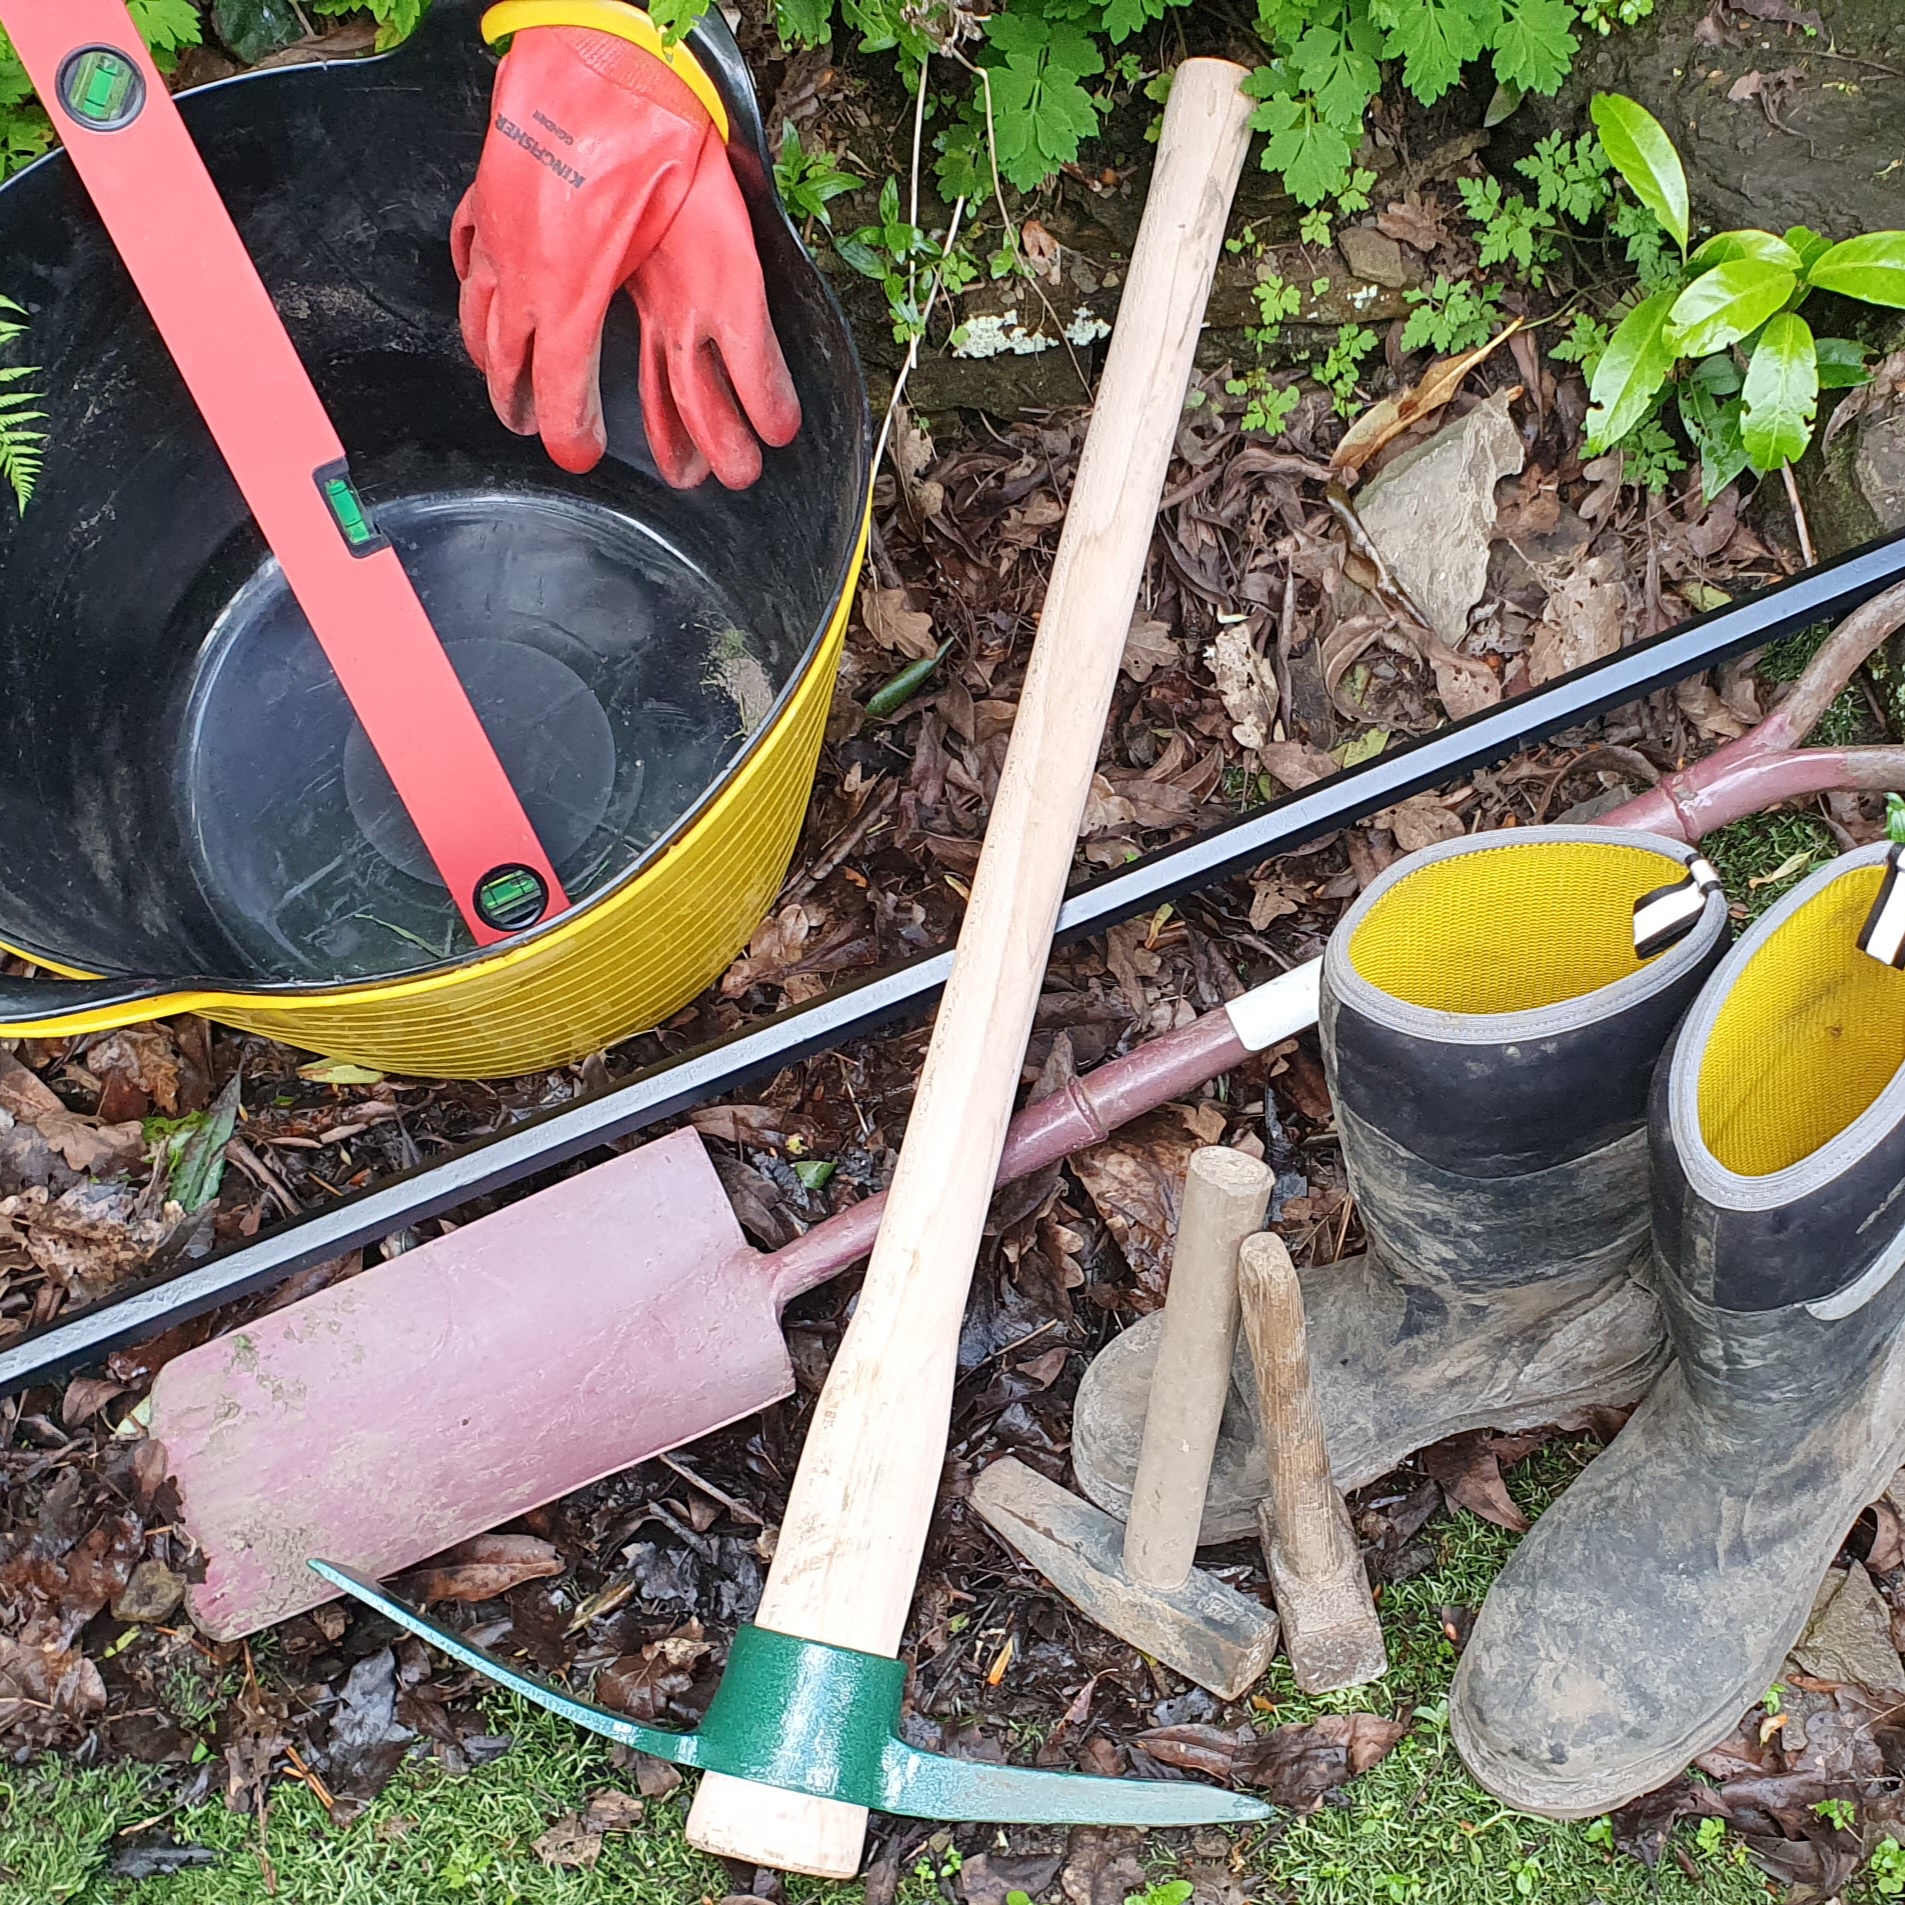
- Buckets - Practical for transporting smaller stones and tools around the worksite.
- Chisels - Necessary for precise shaping and detailing of stones.
- Lump Hammer - Provides extra force for heavier tasks such as splitting larger stones.
- Crowbar - Essential for lifting and maneuvering heavy stones into place.
- Eye Protection - Necessary to shield eyes from potential debris during construction.
- Pick or Mattock - Useful for breaking up stubborn ground and preparing the site.
- Protective Gloves - Crucial for safeguarding hands against sharp edges and rough surfaces.
- Spirit Level - Crucial for ensuring the wall remains precisely level and true as it progresses.
- Steel Toe-Cap Boots - Vital for safeguarding feet from the weight of heavy stones.
- Tape Measure - Essential for accurately measuring required widths and heights, ensuring precision in the construction process.
- Walling Hammer - Ideal for shaping and dressing stones to fit seamlessly.
- Walling Lines - Indispensable for maintaining straight and level lines throughout the construction process.
